Allen Mills, President of HyFlex, took some time out on a jobsite to walk through winterizing a hydraulic pump manifold. Watch the video or read the step-by-step process below!
How to Winterize a Hydraulic Pump Manifold
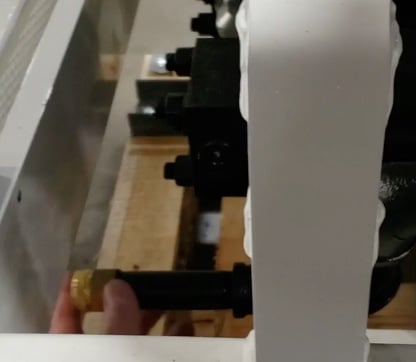
Winterizing a pump takes about three minutes and is really simple. The pump in this video will be sitting outside overnight in 25 degree weather so we needed to do this procedure. I've taken the discharge manifold off of the valve bodies and sat it to the side with the upper check balls. There are eight nuts that were removed to accomplish this.
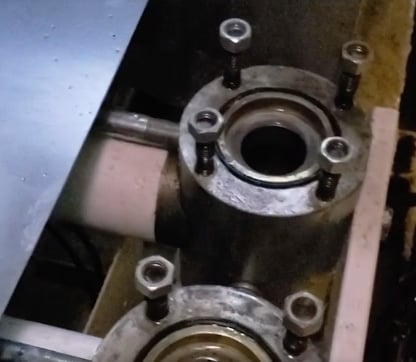
After loosening the manifold bolts and removing the manifold, you will see two check balls in the valve bodies.
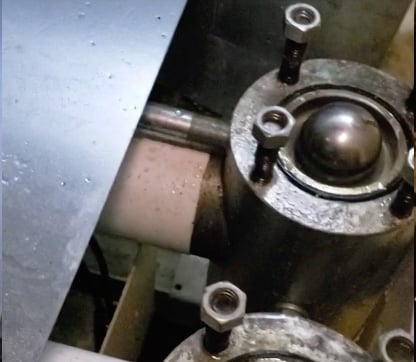
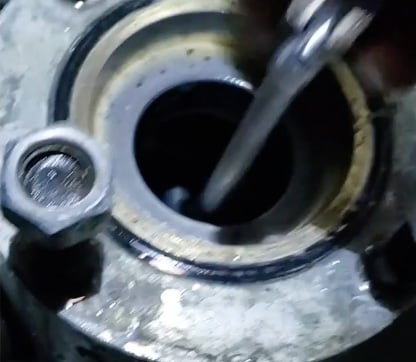
After removing the upper check balls, you will see the valve bodies full of water most likely. Remove the clamp or camlock connecting the hopper to the intake manifold. Then you can take your wrench or screw driver and place it in the valve body to push the lower check ball to the side to allow the water to drain out. Do this for each side.
Now the discharge manifold, valve bodies, cylinders, intake manifold, and hopper are all drained for cold weather. Alternatively some crews will dump a gallon of RV antifreeze in the hopper and cycle the pump to ensure it is drawn into both cylinders.
The reason this is really important (and we see this a lot in the wintertime) - these pumps, if they get left with water in them, what can happen is the connecting rod that's back in the transfer box can actually bend because as the water expands when it freezes, it can push that back.
So that is a repair we see sometimes on machines that are left outside or left to freeze.
Back at the plant. I wanted to add a couple of notes about winterizing your pump.
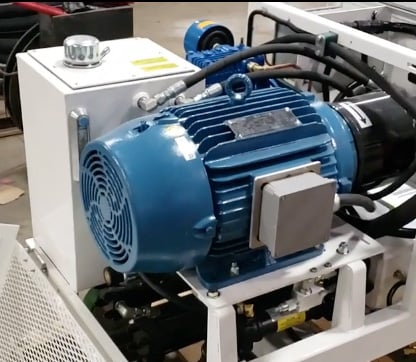
Here I have a 7.5 horsepower 321E.
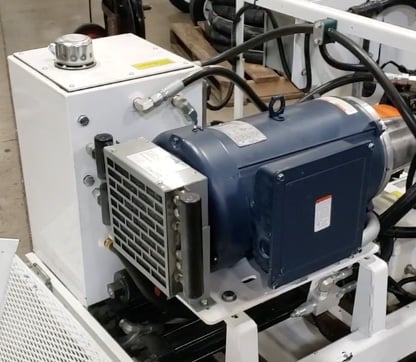
This particular pump is air-cooled. You can tell that by, on the back of the motor we have our hydraulic cooling fan.
Since the 7.5 hp unit is air cooled and the manifolds are drained, your winterization procedure is complete.
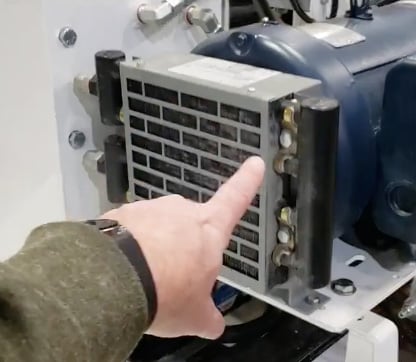
This model is the 321E standard which winterizes the same as the 321E HP and has the same motor and water jacketed cooler.
This unit has the bigger electric motor. You can see it's a lot larger. You can see there's a fan on the back of it, but there's no cooler on the back of the motor.
So to cool the hydraulics we have a water-cooled heat exchanger down below. Occasionally we will have a customer forget to drain these or leave a water hose connected to them in cold weather. Normally the 321E's are used inside, but heat still gets shutoff occasionally over night or on a weekend and it is a good idea to drain the cooler and disconnect the water hose.
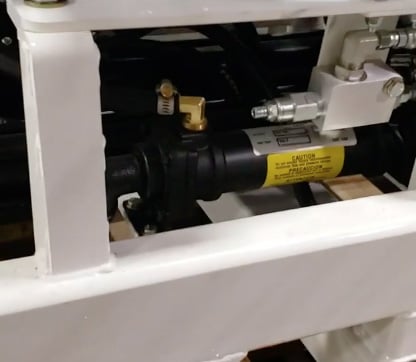
There's a water hose connection down here.
And a water hose connection outlet here.

And what the easiest way to do this is if you put an air gun on the back, on this water hose, open the valve and then just blow air through it until the water comes out.
A second way that you can do it is you can connect again, a short water hose to either end of this, and then you can pour RV antifreeze through it.
So, with those two things you've successfully completed a winterization procedure.